Thursday, April 12, 2012

Pesto alla Genovese with Gnocchi, Mozzarella, and Tomatoes


Ready for a super vague recipe? Don't worry, it's also super easy and incredibly adaptable. We have been on a pesto kick lately. We love pasta and eat it quite frequently, but we hadn't done pesto in a long time. Pesto can be pretty easy to make, but it is also quite affordable to buy a pre-made sauce. I'm sure Trader Joe's has something fantastic, but we opt for the bottle from Costco which is only like $8 and will last you a while (unless you stay on a pesto kick, like we have). Even my 1/4-Italian husband who is very picky about his Italian food approves of this brand. While you can definitely pair any traditional pasta with pesto- this one has a little something extra to it and looks so fancy with gnocchi. We used cherry tomatoes from our little garden, so naturally, it seemed extra delicious. The tomatoes get so sweet when they're hit with a little heat- " è buono," for sure.

Ingredients

gnocchi
pesto
tomatoes of choice- cherry or grape (halved), or Roma (in bite-sized pieces)
mozzarella, cubed

Directions

1. Preheat oven to 375 degrees.  In a large sauce pan, bring salted water to a boil. Cook gnocchi until they float- remove with slotted spoon.

2. While gnocchi is cooking, prep 8 x 8 (or any sized) dish by rubbing a bit of pesto  on the bottom and on the sides. Add tomatoes and mozzarella cubes. As gnocchi are done, add them to the prepared dish. Add spoonfuls of pesto and gently toss the gnocchi with the tomato and cheese, until all have a light covering of pesto.

3. Place dish in the oven and cook only until the mozzarella begins to brown and the tomatoes are juicy.

{Confession: I actually broiled this dish the first go around- but then found out apparently you're not supposed to broil Pyrex. Luckily, nothing happened (and maybe it's okay b/c it was broiling for such a short time period). So, if you have a dish that can withstand broiling, that is faster-but watch it carefully.}

Monday, April 9, 2012

Multi-Grain Waffles


These are my new favorite waffles. The oatmeal makes them so, so soft and fluffy. I was eating them straight out of the waffle iron (carefully, of course). I didn't add wheat germ as it isn't something I normally have in my pantry, but I do think it would add a nice nutty flavor. I actually don't think I've had wheat germ since I was younger and I used to put it on ice cream- is that normal? I also think buttermilk would be great, but again- not something I normally have in stock. I tried the substitute of regular milk plus cream of tartar and it seemed to work well. I am all about using what I have on hand!

 I paired this with a blueberry sauce similar to this one- but scaled down with less sugar and thinned out a bit more.

Ingredients

2 cups buttermilk, or 2 cups milk + 3 tsp. cream of tartar
1/2 cup old fashioned oats
2/3 cup whole wheat flour
2/3 cup all-purpose four
1/4 cup toasted wheat germ, or cornmeal (I had neither, so I added another 1/4 cup whole wheat flour)
1 1/2 tsp. baking powder
1/2 tsp. baking soda
1/4 tsp. salt
1 tsp. ground cinnamon
2 large eggs, lightly beaten
2 Tbsp. brown sugar
1 Tbsp. canola oil (I used applesauce)
2 tsp. vanilla extract

Directions

1. Mix buttermilk (milk) and oats in a medium bowl; let stand for 15 minutes.

2. Whisk whole-wheat flour, all-purpose flour, wheat germ (or cornmeal), baking powder, baking soda, salt and cinnamon in a large bowl.

3. Stir eggs, sugar, applesauce and vanilla into the oat mixture. Add the wet ingredients to the dry ingredients; mix with a rubber spatula just until moistened.

4. Preheat a waffle iron and coat a waffle iron with cooking spray. Spoon in enough batter to cover three-fourths of the surface (about 2/3 cup for an 8-by-8-inch waffle iron). Cook until waffles are crisp and golden brown, 4 to 5 minutes. Repeat with remaining batter.

*The original recipe states that it can also be used for pancakes.


adapted from Eating Well

Wednesday, March 14, 2012

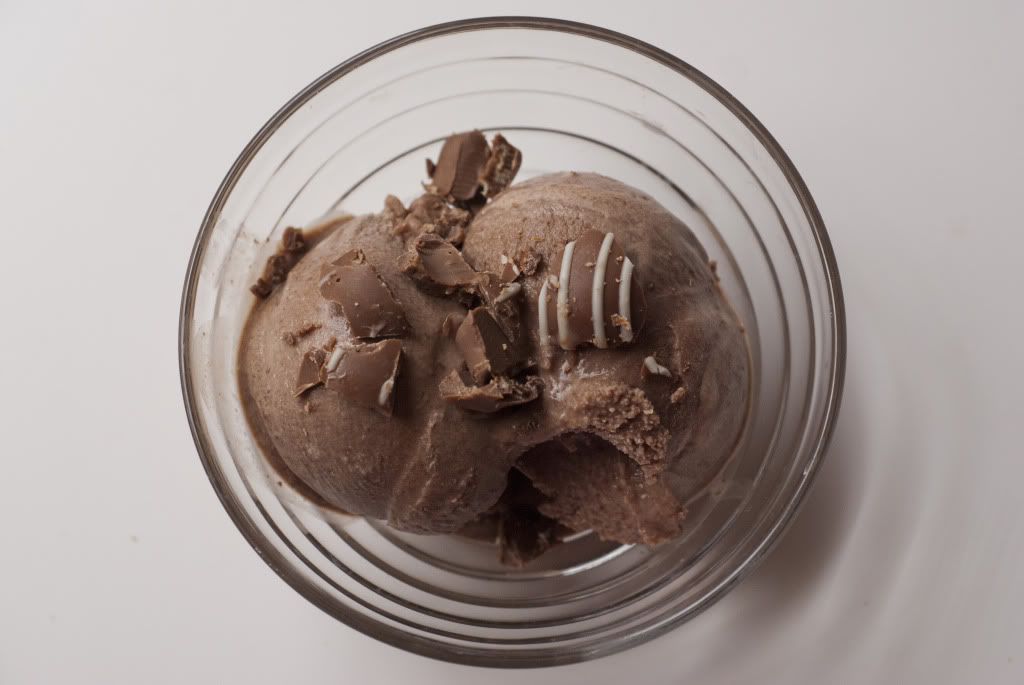
Nutella Gelato


Alright, technically this isn't gelato... but it was originally going to be. I was going to follow this recipe but the extra work and inclusion of eggs (although cooked into a custard) in pregnancy convinced me to go an easier route. I feel okay still calling it gelato because of the consistency and because, like good gelato, a little goes a long way. Really, one scoop of this should provide a satisfactory sugar fix. I was so, so tempted to add a few spoonfuls of peanut butter as it was churning in the ice cream maker, but since it was technically a Valentine's Day treat for Nick I restrained. (He likes peanut butter, but certainly not as much as me.)

Ingredients

1 cup Nutella
3/4 cup sugar
1 cup whole milk
1 1/3 cup cream
2 tsp. vanilla extract

Directions

Mix Nutella and sugar until combined. Add milk and mix til sugar mixture is dissolved. Stir in cream and vanilla and chill for several hours. When chilled, follow directions on ice cream maker until desired consistency is reached (about 20 min). Store in air tight container in freezer.

Sunday, February 12, 2012

Black Bean Soup


Nick is working nights this month. Yep, we're back to an incredibly crappy schedule. Sometimes the 15 minutes that we have together isn't worth trying to cram down an early dinner, so Siena and I have been flying solo most nights. I made this the other night when all I wanted was to order pizza or drive to Chipotle- but Siena was already in bed and I couldn't justify the cost at the time. Besides loving black beans, I love this recipe because it is right up my alley: ingredients I almost always have on hand, easy to adjust quantity, and no measuring. I ate it just as it was, but I think you could pair it with lots of things if you prefer it as a side rather than the main dish.

Ingredients

olive oil
1-2 red bell pepper, chopped
medium onion, chopped
2 carrots, chopped
2-3 cloves of garlic, minced
2 cans black beans (reserve 1/2-3/4 of one can), mostly drained
1/2 can diced tomatoes in juice
1/2-1 cup chicken broth
2 tsp. cumin
1 tsp. chili powder
1/2 tsp. oregano
1/2 tsp. coriander
fresh cilantro, to taste

Directions

1. In a saucepan or pot, over medium heat, add olive oil and saute bell pepper, onions, and garlic until tender (about 5-6 min).

2. Add beans (reserving 1/2-3/4 of one can), diced tomatoes (in some juice) a bit of chicken broth-I splashed some in, but start on the lower end knowing you can always add more.

3. Add cumin, chili powder, oregano, coriander (I approximated above, because I like to just shake 'em in). Bring to boil, reduce heat to low/medium low and simmer uncovered til carrots are tender. Add fresh cilantro (1-2 Tbsp. chopped)

4. Using an immersion blender, or a traditional blender, blend the beans to desired consistency. Add chicken broth as needed to get desired consistency. Add reserved black beans and return to stove to heat through.

5. Garnish with fresh lime juice, shredded cheese, tortilla chips, dollop of sour cream, and/or fresh cilantro.

If you are fortunate enough to have leftovers, this reheats really well. It may need a little broth added the next day.

Saturday, February 4, 2012

Arancini


When we were in Italy we tried these amazing risotto balls called arancini. They are are native to Sicily, so Nick hadn't tried them before this trip. We made these as a big indulgence- the first fried food I've ever made- but they were so good I'm sure we'll justify making them again. Most of the ones in Sicily are the size of an orange or so -arancina means "little orange," but ours were quite a bit smaller to make them easier to prepare. Since they are larger, they can fill more inside and typically have ragu or tomato sauce, cheese , and maybe peas. Next time I'd love to try a butternut squash risotto with Gruyere cheese tucked inside.

Ingredients

vegetable oil, for frying (slight wince)
2 large eggs, beaten
2 cups day-old risotto
1/2 cup grated Parmesan cheese
1 1/2 cups dried Italian-style bread crumbs, I used flavored Panko
2 ounces mozzarella, cut into 1/2-inch cubes (or a bit smaller)
salt
optional: favorite ragu

Directions

1. Pour enough oil in a heavy, large saucepan to reach depth of 2-3 inches. Heat the oil over medium heat to 350 degrees Fahrenheit. {I didn't have a way to measure the temp and it was fine.}

2. Stir eggs, risotto, Parmesan, and 1/2 cup of bread crumbs in a large bowl to combine. Place
remaining breadcrumbs in a medium bowl.

3. Using about 2 tablespoons of the risotto mixture for each, form the risotto mixture into 1 3/4-inch-diameter balls. Insert 1 cube of mozzarella into the center of each ball. Roll the balls in the bread crumbs to coat.

4. Working in batches, add the rice balls to the hot oil and cook until brown and heated through, turning them as necessary, about 2-4 minutes. Using a slotted spoon, transfer the rice balls to paper towels to drain. Season with salt. Let rest 2 minutes. Serve hot.

*If using optional ragu- place a spoonful of ragu when you add mozzarella to inside of risotto ball.

adapted from Giada

Creamy Parmesan Risotto


I should've taken a picture of this while it was nice and hot...this is actually the remnant two days later which was half of the reason I wanted to make risotto--to use some of the leftovers for arancini. This is certainly tasty on it's own (paired with salad and possibly a little something else), but it is a very tasty treat in arancini form as well!

Ingredients
 
5 cups hot good quality chicken broth       
¼ cup butter (I will use less next time, but I'm not a huge butter fan)
1 large onion                    
1-2 tbsp. chopped fresh garlic
1 ½ cups Arborio rice              
3 Tbsp. butter (again, I'll use less)
1 ¼ grated Parmesan cheese 

2-3 Tbsp. finely chopped fresh parsley
salt and black pepper, to taste

 
Directions

 
1. Bring the chicken broth to a boil in a saucepan; reduce the heat, to low and cover the saucepan to keep hot.

 
2.In another heavy-bottomed saucepan melt 1/4 cup butter over medium-low heat, add in onion and saute until very tender but not brown (about 8-10 minutes).Add in garlic and stir for about 2 minutes.Increase heat slightly and add in the rice; stir for 1 minute.

 
3. Slowly add in 1-1/2 cups hot broth with a ladle; boil gently, stirring until the broth is absorbed. Add in another 1 cup broth, and stir until absorbed .Add in 1/2 cup broth at a time allowing the broth to absorb before adding in another 1/2 cup (do this until you have used up all of the broth) stirring frequently until the rice is tender and creamy (this should take between 25-30 minutes).

 
4.Stir in 3 tablespoons butter and 1-1/4 cup (or less) grated Parmesan cheese; mix to combine.Season with salt and pepper.

 
5. Transfer to a bowl and sprinkle with chopped parsley.


from food.com

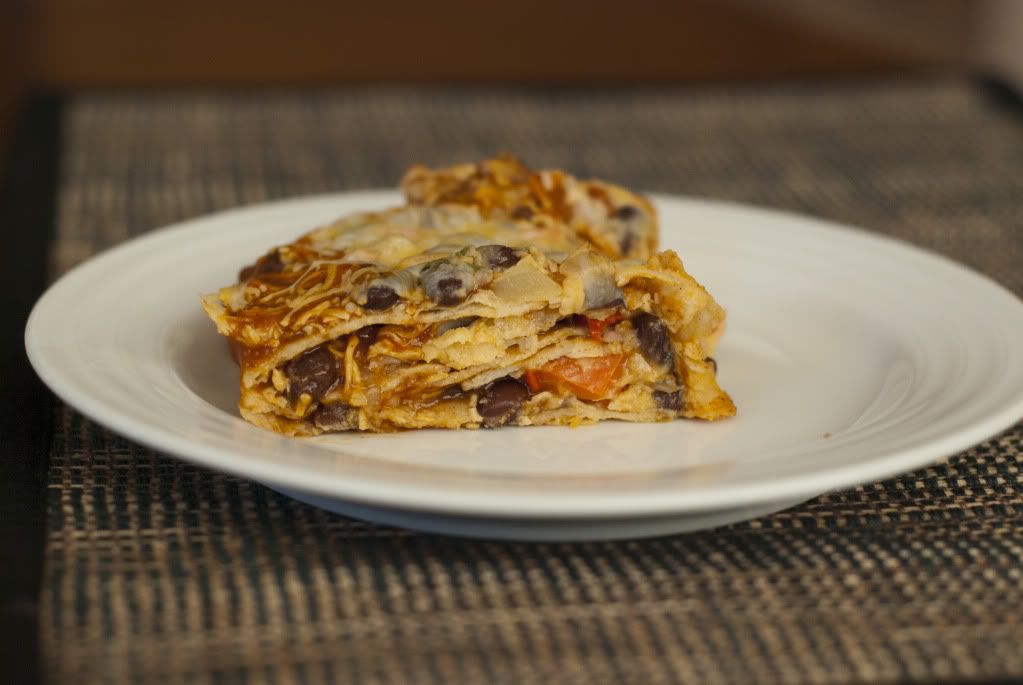
Stacked Roasted Veggie Enchiladas


I was a little hesitant to try this, but having seen this recipe (or very similar) over and over I figured there must be something good about it! It was a great meatless dinner, even Nick approved and was pleasantly surprised. Honestly, we made this so long ago I can't remember if I changed much from the original recipe- I'm pretty sure I used a little less red sauce and only 1/2 a jalapeno since I didn't want too much spice for a 2-year-old.

Ingredients

1 large red pepper, chopped, seeds removed
1 medium zucchini, chopped
1 medium yellow squash, chopped
1 large onion, chopped
1 tablespoon olive oil
Salt and pepper
1 can black beans, rinsed and drained
1 teaspoon ground cumin
1 teaspoon chili powder
2 garlic cloves, minced
1 jalapeño, minced
1/2 cup chopped fresh cilantro
Salt and pepper, to taste
2 cups red enchilada sauce
9-10 small corn tortillas
2 cups shredded Monterey Jack cheese

Directions


1. Preheat the oven to 400 degrees F. Place red pepper, zucchini, yellow squash, and onion on a large baking sheet. Drizzle with olive oil and toss until vegetables are coated. Season with salt and pepper. Roast vegetables for 30-40 minutes, or until tender, stirring occasionally. Remove vegetables from oven and let cool to room temperature. Reduce oven temperature to 350 degrees F.

2. Grease an 8x8 square baking pan and set aside. In a medium bowl, combine roasted vegetables, black beans, cumin, chili powder, garlic, jalapeño, and cilantro. Stir and season with salt and pepper.

3. Spread 1/4 cup of enchilada sauce into the bottom of the baking pan. Add a layer of tortillas, to completely cover the bottom of the pan. You might have to cut the tortillas to make them fit. Top with 1/3 of the vegetable/bean mixture and 1/3 of the cheese. Make a second layer of tortilla, enchilada sauce, vegetables/beans, and cheese. Top with with a layer of tortillas, enchilada sauce, vegetables/beans, and cheese. Spray a sheet of aluminum foil with cooking spray and cover the pan.

4. Bake enchiladas for 20 minutes. Remove the foil and bake for another 10 minutes, or until cheese is melted and the enchiladas are bubbling. Remove enchiladas from the oven and let cool for 10 minutes. Cut into squares and serve warm.


from twopeasandtheirpod